Course Description
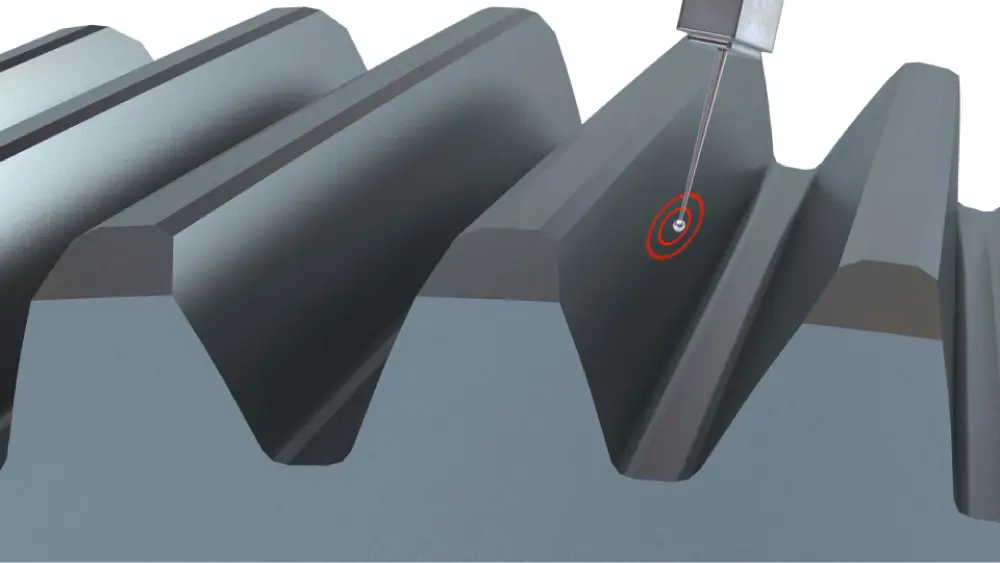
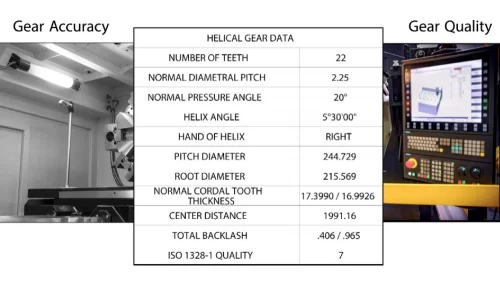
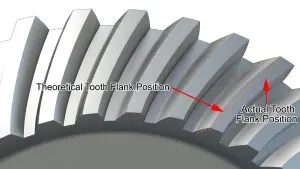
Gear Chart Interpretation: Elemental Measurements on Cylindrical Gears introduces learners to the latest ISO global gear accuracy standard, the factors that define gear accuracy, and the evaluation of measured deviations against the allowable deviations on a gear inspection report, or “gear chart”. In this course, learners engage with animations and interactives demonstrating the analytical quality inspection processes performed to obtain the values classified as elemental measurements according to the global standard.

Who will benefit from this Gear Inspection Reports course?
Any learner, such as a beginning engineer, who must be familiar with reading and interpreting gear charts generated for spur and helical gears.
Course Classification

*THORS uses the Bloom’s Taxonomy Methodology for our course development.
Certificate Awarded for Gear Chart Interpretation: Elemental Measurements on Cylindrical Gears
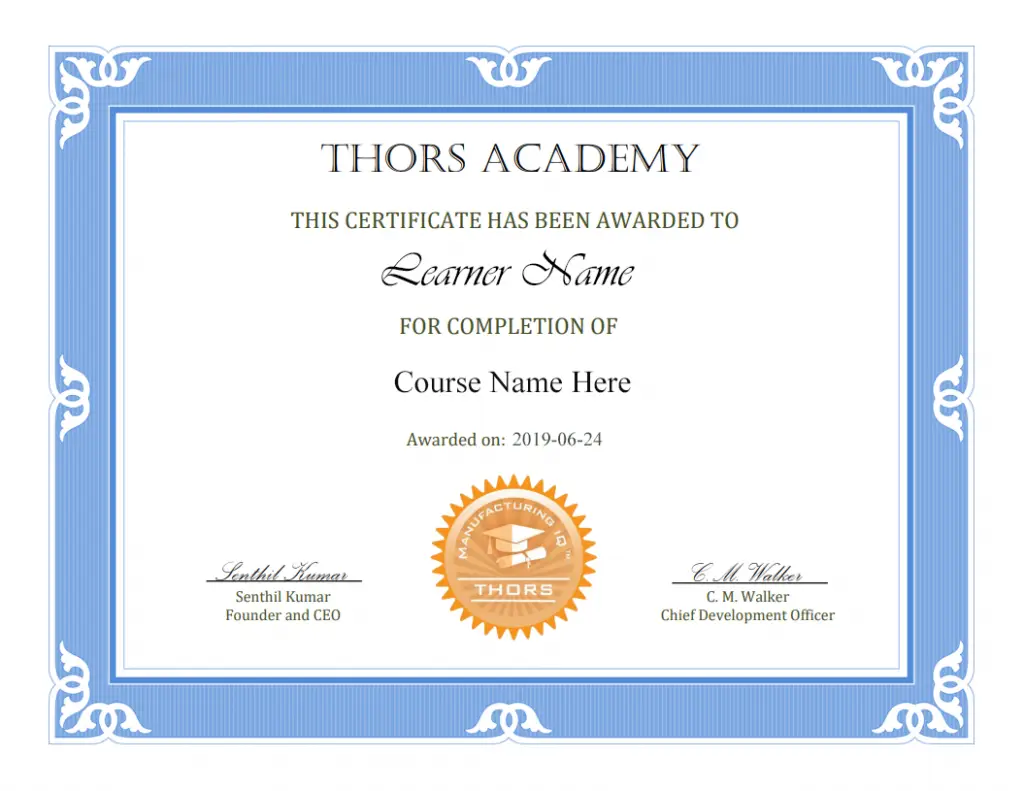
*upon successful completion
Related Posts

eLearning Support for On-Site Training
eLearning has emerged as a revolutionary force in the realm of learning and professional development, evolving into an imperative tool in today’s competitive landscape. The

5 signs you should invest in effective workforce training
In today’s constantly changing marketplace, the importance of workforce training has never been greater. Workforce training has the ability to not only increase workforce efficiency

5 Key Reasons Why Bevel Gear Testing Matters
Bevel gear testing is essential because bevel gears are critical components used to transmit motion between intersecting shafts in automotive systems, industrial machinery, and aerospace

