Every manufacturing company that uses drawings to develop a manufacturing plan and estimate the production time might calculate product costs incorrectly if there are errors in those drawings. Such errors may also extend the product cycle time by causing manufacturing to tool up with incorrect equipment. Other engineers may have to guess at the designer’s intent, leading to a poor quality finished product that may not function properly.
To increase profitability, it is important for manufacturers to reduce issues like time delays and poor product quality. However, these issues can be expensive due to Geometric Dimensioning and Tolerancing violations. Hence, eliminating tolerancing errors will help a manufacturing company decrease waste, rework, errors, confusion, and downtime. The outcome will be in the form of quality products manufactured on time.
Anyone can make a mistake; we are all human beings. Thus, no matter how good a dimensioning system is, there will still be errors encountered on drawings. The trick is to identify those common mistakes and take steps to avoid them.
Here are few of the most common mistakes:
#1 Improper use of the word “through”
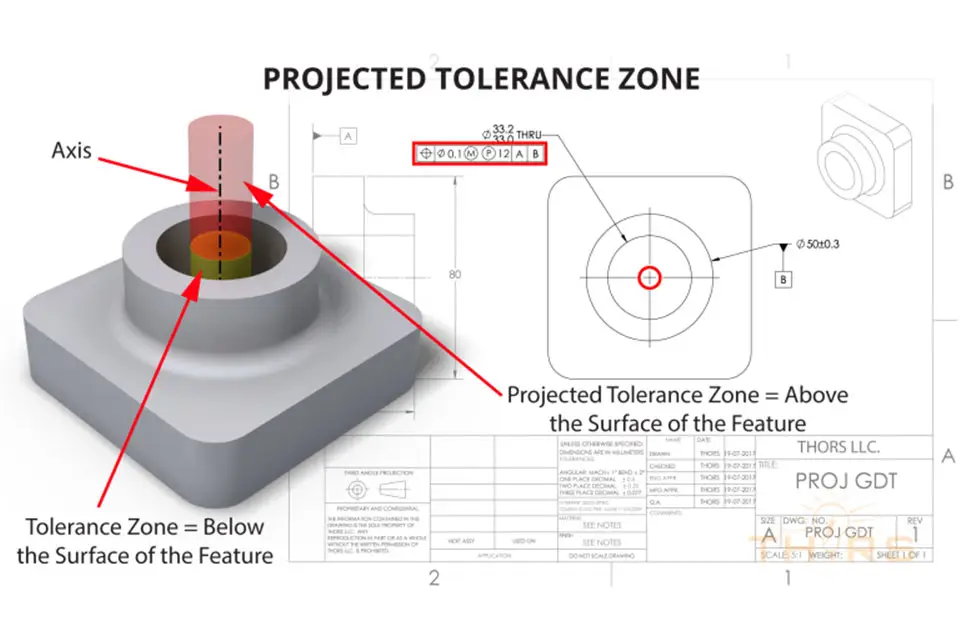
When used on a print, “through” means “all the way through” and has no other meaning. If “all the way through” is not the intent, then the actual intent should be clearly specified and the depth should be mentioned in the drawing.
#2 Improper location of the datum feature symbol
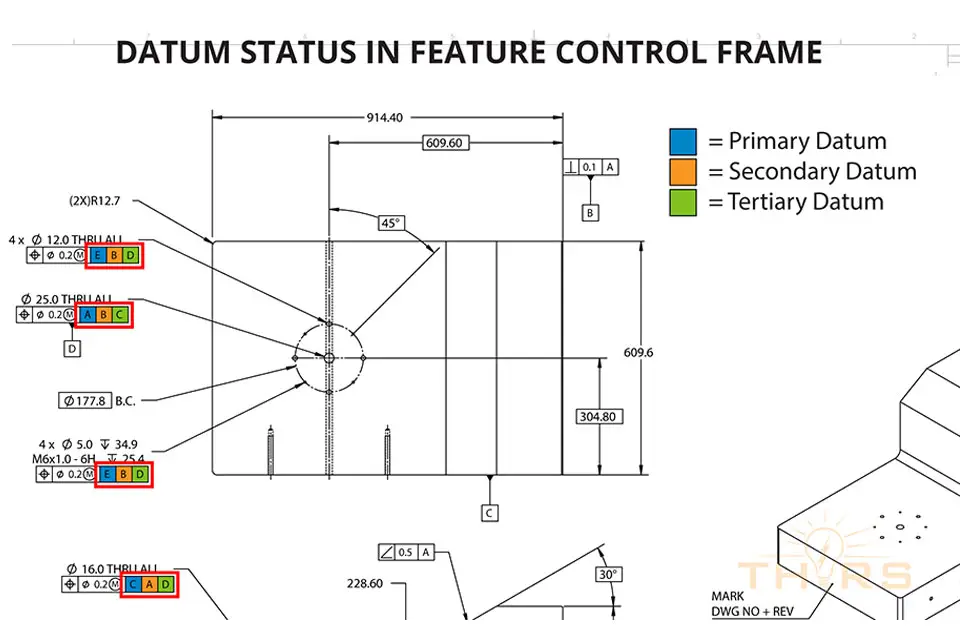
One of the most common mistakes by a designer is using a datum feature symbol (a capital letter enclosed in a square box attached to a feature via a leader line ending in a triangle) to identify a center line as a datum feature. Although a theoretical datum is usually a center line or axis, the datum feature symbol does not convey the theoretical datum. Instead, it identifies the physical feature, and thus the datum feature, from which a part will be fixtured or a measurement will be taken. Improper indication of a datum feature creates problematic ambiguity for both machinists and inspectors.
#3 Improper use of the word “central”
Like the word “through,” “central” is also very risky if not specified correctly. Before using this word, it is important to first ask, “Central to what?” Then, if the word is used, a frame of reference or the dimension should be specified on the drawing.
#4 Imaginary dimensions
All dimensions should be identified. For example, during the inspection of a part, a dimension cannot be verified when measuring from the center line of a hole to an undefined vertical line. The dimension will always be from the hole’s center line to a defined plane, line, or point.
#5 Dimensions without tolerances
Dimensions without tolerances and basic dimensions are not the same. Dimensions without tolerances on prints use the tolerances identified in the title block. On the other hand, basic dimensions are theoretically exact dimensions that reside within individual boxes on the print. For basic dimensions, the associated tolerance is usually found in a feature control frame or note.
#6 Missing dimensions
Engineers, designers, machinists, and inspectors are all trained to read what is on the drawing, not what is missing. Therefore, missing dimensions are specifically dangerous and may not be detected for years until there is a warranty problem or lawsuit.
In order to eliminate geometric dimensioning and tolerancing errors, an organization needs a combination of good training programs, feedback, and quality audits.


